How to set-up wireless networking on your PSP
Wireless networking might seem like a black art to rival witchcraft but in reality it's a very simple issue. You can think of it like a radio; if you're in an area that's covered by a wireless network ? maybe you've got one at home, university, school or work ? then your PSP can receive that broadcast signal and tune into it. However, while it'll try and do this by itself, it does need some input from you. For instance, many wireless networks are encrypted these days to keep them secure from computer hackers and you'll need to enter a special code (called a WEP key) into your PSP in order to connect to it. Once you are connected to a wireless network you can use the Network Update feature to connect your PSP to the internet and update its software, play multiplayer games and more!
|
|
|
| Your PSP will detect any wireless wireless network within its range as long as the wireless adapter is switched on. The switch for this is on the left end of the PSP, near the analogue thumbstick. If the switch is in the down position, the wireless network adapter is off; push the switch into the up position and it'll turn it on. If you're not going to be using wireless networking it's a good idea to keep it turned off as it'll make your batteries last longer. |
 |
|
|
|
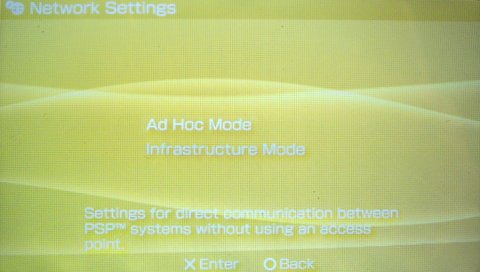
| When you turn on your PSP's wireless adapter it'll look for any wireless networks nearby. If there's another PSP within range it'll automatically set up what's called an 'ad-hoc' network between the two. This will enable you to play multiplayer games between the two PSPs with one hosting the game and the other joining it. When you want to join an existing wireless network, such as when you want to browse the internet, you'll be using an 'infrastructure' wireless networking mode. |
 |
|
|
|
| To connect to a wireless network, go to the home screen of your PSP and look under Settings. If you scroll all the way to the bottom you'll find Network Settings, so enter this and on the next screen you'll be asked to choose between Ad-Hoc and Infrastructure, so pick the latter by selecting it and pressing X. Press O to return to the previous screen. You'll need to set up a Connection. You can save the settings for 10 different Connections and you can choose between the Connections you've set up whenever you need to use the Infrastructure network mode. |
 |
|
|
|
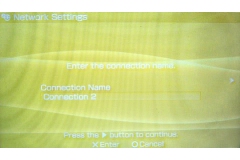
| Pick New Connection and press X. You can give the new Connection a name by pressing X and using the text-entry screen. Give it a descriptive name like 'Home Network' or 'University Network' so you know when and where you can use it. When you've entered the name for your new Connection you'll be asked whether you want to scan for WLAN settings or to enter them manually; select the Scan option and press right on the directional-pad. Your PSP will then scan the area for any available networks and collect the settings needed. |
 |
|
|
|
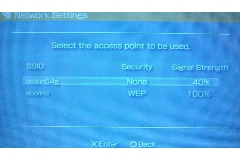
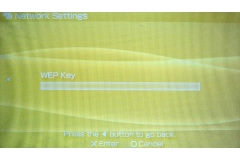
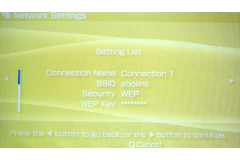
| A list of available networks (called Access Points) will be displayed, giving its name (called an SSID), whether it's encrypted or not and the signal strength. If there is more than one network, use the D-pad to scroll down to the one you want to join and press X. You'll be asked to confirm the settings so press right on the D-pad to scroll through each. When you get to the security settings, choose the appropriate setting from the list, which is WEP in most cases, and press right on the D-pad again. If you need to enter the WEP key, speak to whoever runs the wireless network and they'll provide it for you. Press X and enter the WEP using the text-entry screen. |
 |
|
|
|
|
Once you've done that you can check the settings you've entered on the final screen and save them. Now you'll be able to connect to the wireless network. If you return to the main home screen you can now update your PSP's software by going to Settings and selecting Network Update. Alternatively you can go to the Network section on the far right of the home screen to browse the internet using the PSP's in-built internet browser. Or you can fire up that multi-player game you've been itching to try out and get going!
|
 |


